Most homeowners underestimate what happens on the day of their AC installation. You can expect a team of trained professionals to arrive at your home, ready to handle the installation efficiently. You may experience some disruption as they work, but understanding the process helps ease any concerns. Your old unit will be removed and the new system expertly installed, ensuring optimized performance for your home. Safety measures are prioritized to prevent any hazards, so you can feel confident throughout the day.
Key Takeaways:
- The installation process typically lasts several hours, depending on the complexity and the type of system being installed.
- Homeowners should prepare the installation area by clearing space around the indoor and outdoor units.
- Post-installation, the technician will conduct a walkthrough to explain the system and answer any questions.
Preparing for Your AC Installation
Before the installation day arrives, there are a few steps to ensure a smooth process. Clear the area around the indoor and outdoor units, making it easier for the technicians to access and install your new system. Additionally, familiarize yourself with the installation schedule and be prepared for any temporary disruptions in your home. Having a plan in place will minimize surprises and help streamline the entire process.
Assessing Your Home’s Cooling Needs
Understanding your home’s cooling needs is vital for optimal comfort. Consider factors like the size of your home, the layout, and the number of occupants to determine the capacity required. A typical rule of thumb is about 20 BTUs per square foot. This ensures you select a system that effectively cools your space without overworking itself, leading to energy savings and longevity.
Choosing the Right AC Unit
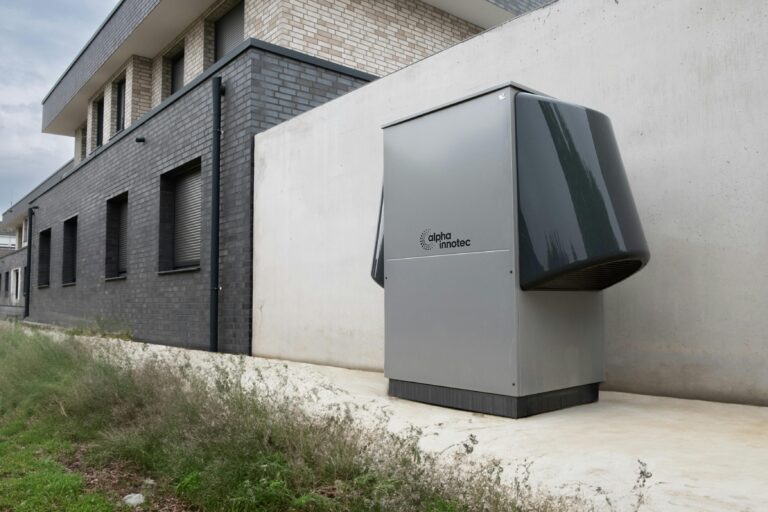
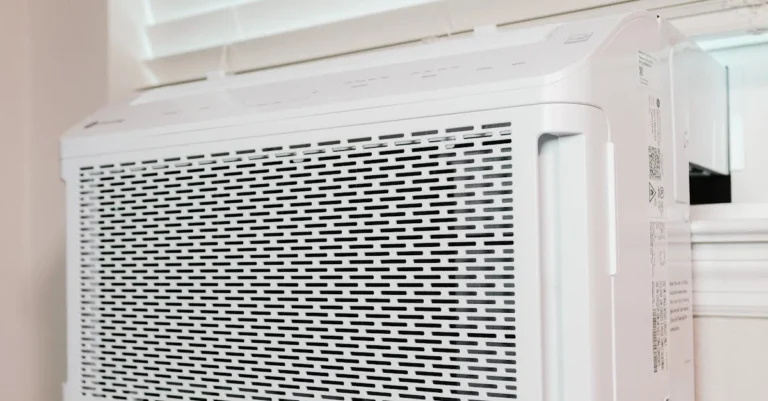
Selecting the right AC unit for your home is pivotal to achieving both comfort and efficiency. Factors such as energy efficiency ratings (EER and SEER), type of unit (central, split, or window), and noise levels come into play. If your home has existing ductwork, a central unit might be a more effective choice, while apartments or smaller spaces could benefit from ductless systems. Always consult your HVAC professional to assess your unique requirements and receive tailored recommendations.
Scheduling the Installation
Scheduling your AC installation is a vital step that ensures your new system is up and running when you need it most. Flexibility is key, as installation dates may need to align with contractor availability and weather considerations. Aim for a period that provides you ample time to prepare your space, ideally allowing at least a week for scheduling after finalizing your purchase.
Finding a Reputable Contractor
To find a reputable contractor, start by seeking recommendations from friends or family, and check online reviews for local HVAC companies. Look for contractors with certifications and a proven track record in AC installation. Verify their licensing and insurance status to ensure you hire a professional who meets industry standards.
Understanding the Installation Timeline
The installation timeline can vary based on the system type and complexity. Typically, most installations take between four to eight hours but can be longer if upgrades or ductwork modifications are necessary. Communicate with your contractor about their estimated time frame and potential delays.
A better grasp of the timeline allows you to plan accordingly. Your contractor will outline the schedule, typically starting with a site assessment, followed by the actual installation. This process includes the removal of the old unit, if applicable, and the positioning of the new system. Factor in time for final checks and system testing, which might add another hour or two. Having clear communication about each phase will help ensure everything proceeds smoothly and you can enjoy your new cooling system as soon as possible.
The Installation Day Process
Arrival of the Installation Team
Your installation team will arrive at the scheduled time, ready to get to work. Expect them to be professional and well-prepared with all necessary tools and equipment. A typical team consists of two to four technicians, depending on the size of your unit and home. They will introduce themselves and might ask you a few questions about your home’s layout to ensure smooth progress.
What to Expect During Installation
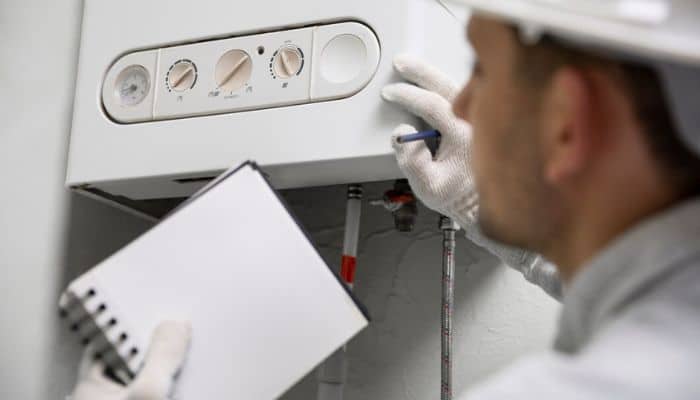
During the installation, you can expect a systematic approach to ensure everything is done correctly. First, the old unit may be removed if applicable, followed by the positioning of the new air conditioning unit. The technicians will connect the necessary ductwork and electrical components, ensuring they adhere to local codes and safety standards. Some noise and minor disruption might occur, but the team will work efficiently to minimize this and aim to complete the job within a few hours, depending on the complexity.
As they work, you’ll notice the team may tape off areas to protect your home and set up drop cloths to keep your floors clean. They’ll be checking the refrigerant levels and ensuring proper airflow in your ducts for optimal performance. You might also see them running tests to confirm that the system operates smoothly before they leave. Should any issues arise, the technicians will discuss them with you, explaining your options thoroughly to ensure you feel comfortable with the process and results.
After the Installation
After your new AC unit is installed, the installation team will guide you through the operation and features of your system. You might also want to check The Complete Professional AC Service Checklist for a thorough understanding of maintenance needs.
Testing the New System
The installation will conclude with a comprehensive system test to ensure everything functions correctly. You’ll experience how the unit responds to temperature adjustments and verify that airflow is adequate throughout your home. A proper test checks for any unusual noises or issues that might need addressing.
Maintenance Tips for Longevity
For your AC unit to function efficiently over time, regular maintenance is key. Schedule annual professional inspections and keep your filters clean and replaced regularly. This practice helps normalize performance and prevent significant issues. DIY tasks include clearing debris around the outdoor unit and ensuring unobstructed airflow. Perceiving proactive care will extend the lifespan of your unit.
- Annual professional inspections
- Regular filter replacements
- Clearing debris
Investing a bit of time in maintenance not only enhances efficiency but also saves you money on energy bills and repairs down the line. Keeping a central focus on your unit’s upkeep can prevent costly malfunctions. Perceiving the benefits of routine care means enjoying a quiet, efficient system for years to come.
- Cost-saving efficiency
- Enhanced system lifespan
- Prevention of significant repairs
Common Questions and Concerns
You may have several questions and concerns regarding your AC installation. Addressing these can ease any anxiety and ensure you understand the process. It’s normal to be curious about how long the installation will take, the type of system that best fits your space, and potential energy savings. You should communicate openly with your installation team to clarify any doubts, helping you feel more comfortable as they work on your home.
FAQs About AC Installation
Your installation team can provide answers to frequently asked questions about AC systems. Common inquiries include the ideal size for your home, maintenance recommendations, and whether ductless options may be applicable. Understanding these aspects helps you make informed decisions that align with your specific needs and budget.
Troubleshooting Common Issues
Even with professional installation, you may encounter common issues that can affect your AC’s performance. If your system doesn’t cool effectively or makes unusual noises, these are signs you should address promptly. Regular maintenance and prompt communication with your installation team are key to resolving these problems efficiently.
If your AC is not cooling properly, check your thermostat settings first; ensure it’s set to the desired temperature and in cooling mode. Next, inspect the air filters—clogged filters restrict airflow and reduce efficiency. If you hear strange noises, it could indicate loose components or debris in the unit. Keeping these factors in check helps maintain optimal performance and extends the life of your system.
Summing up
Knowing what to expect on the day of your AC installation in Drexel Heights helps make the entire process easier and more efficient. From the moment the technicians arrive, you can count on a professional, organized approach that prioritizes safety, quality, and comfort. Your old system will be removed, your new unit carefully installed, and all components tested to ensure optimal performance.
By preparing your home in advance and maintaining open communication with your installation team, you can minimize disruptions and gain confidence that the job is being done right. Once your new system is up and running, simple maintenance—like regular filter changes and annual inspections—will help it run efficiently for years to come.
At A1 Air Conditioning & Heating LLC, we take pride in providing seamless, reliable AC installations for Drexel Heights homeowners. Our expert technicians ensure every step of the process is handled with care, giving you lasting comfort and peace of mind through the hottest Arizona days.